3D printed parts
Desciription of the 3D printed parts needed for the operation of the Mass Spec Preppy
Please use the link (import custom labware definition in the OT-2 app) for a detailed description of how to import the custom labware definition for operating MassSpecPreppy successfully.
3D printed parts
OT-2 MS-Vial adapter
Please print the OT-2 MS-Vial adapter using:
- 0.15 mm resolution
- 15% Gyroid infill
- min. 2 perimeters
- no supports needed
- PLA filament

OT-2 magnet plate with 48 rod magnets
Please print the OT-2 magnet plate using:
- 0.15 mm resolution
- 15% Gyroid infill
- min. 2 perimeters
- use supports
- PLA filament

OT-2 magnet plate without magnets (download link to STL file)
After printing the adapter, the magnets (diameter 5mm, height 13.96mm, neodymium N45, adhesive force 1.1kg, axial magnetization [parallel to height]) are glued into the adapter using 2-component adhesive (e.g. Uhu Plus Instant 2-component epoxy adhesive Transparent 18 g + 17 g).
Attention, always use the same magnetic orientation for all magnets.
Start gluing the magnets on the opposite sides. Pay attention to the magnet alignment.
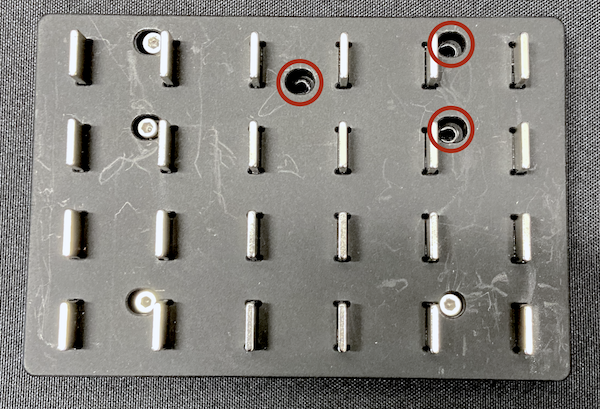
installing the magnetic plate
To install the magnet plate, remove the 3 screws in the OT-2 magnet module (Figure 3). These are the screw positions where the new magnet plate you manufactured has holes. Use these removed screws to mount the new magnet plate in the magnetic module.
final state: OT-2 magnet plate with 48 rod magnets
The crafted magnetic plate installed in the OT-2 magnetic module should look like this:
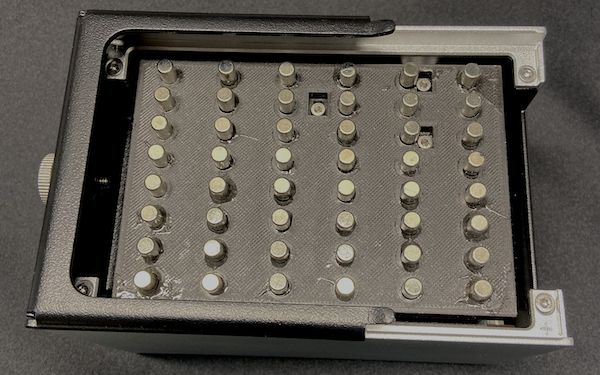
Since the magnetic force of the magnets used in the self-made magnetic plate (Figure 4) is much higher than that of the supplied magnetic plate and we use bar magnets, the pin-sized round bead pellet is located approx. 4 mm above the bottom of the reaction vessel. This prevents bead carryover, which is extremely important. In contrast to the supplied magnets which localizes the bead pellet rod-shaped to the bottom of the reaction vessel wall and a carry-over of beads is likely.
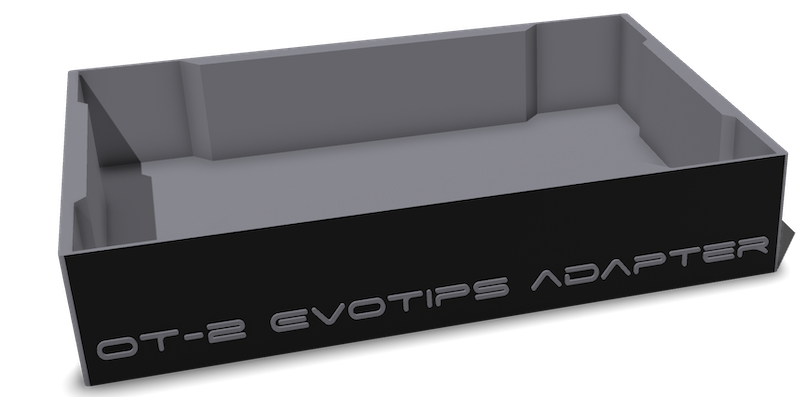
OT-2 EVOTIP adapter
Please print the OT-2 EVOTIP adapter using:
- 0.15 mm resolution
- 15% Gyroid infill
- min. 2 perimeters
- no supports needed
- PLA filament
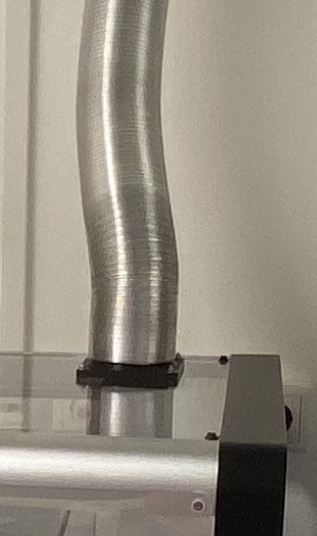
OT-2 fume hood for a 80mm tubing
Since acetonitrile is highly volatile and toxic, modification of the OT-2 using the fume hood adapter is recommended.
Please print the OT-2 exhaust adapter for a 80mm tubing (if needed) using:
- 0.15 mm resolution
- 15% Gyroid infill
- min. 2 perimeters
- no supports needed
- PLA filament
How to install the adapter: De-install the cover plate of the OT-2. Drill a 80mm thick hole in the cover plate of the OT-2 (e.g. at the position of the gantry). Screw the adapter on using stainless steel carriage bolts, install the cover plate again and connect it to the volatile chemical venting system using aluminum flex tubing.
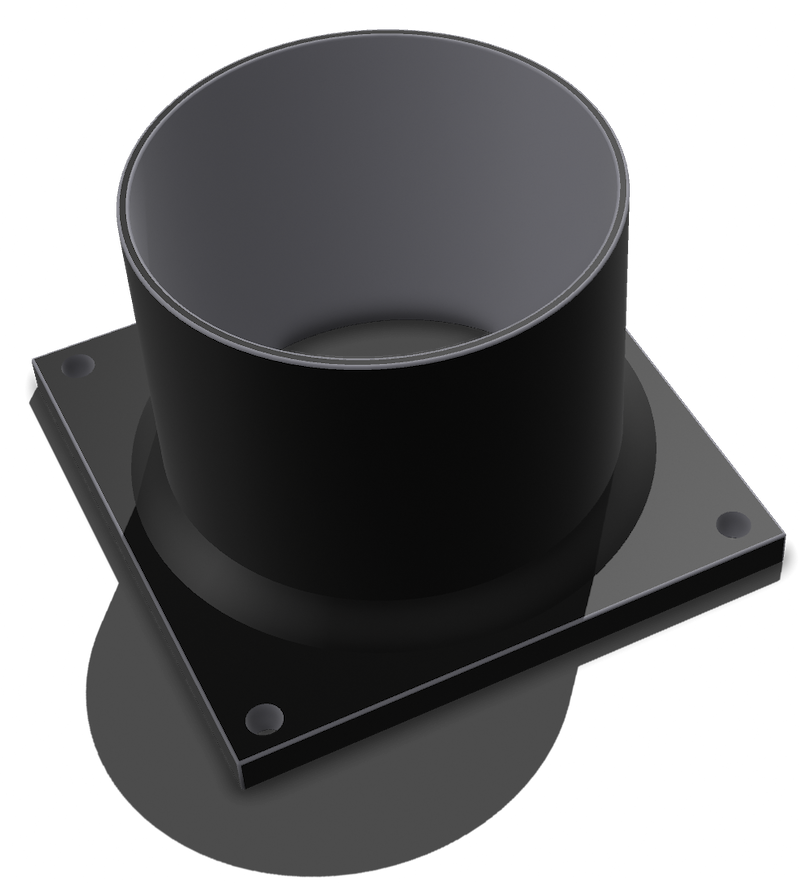
OT-2 fume hood for a 80mm tubing (download link to STL file)
final state: OT-2 fume hood for a 80mm tubing